You may have been a beekeeper for years, or you might be starting out. One thing for sure is that once people know you have a bee hive they will have questions. Often, one of those questions is “Will you come and speak to our group, class, club, event, etc? You, of course, will be so flattered that you will immediately say “Yes, I’d be glad to”
After you get home and start thinking about it, you might wonder what you’ve gotten yourself into. Perhaps you’ve never spoken in public before, or are afraid that you don’t know enough about beekeeping. You ask yourself, can I keep them interested? Will I be able to answer their questions? Well, don’t panic. Beekeping is such an interesting endeavor that you are bound to wow them as long as you show up prepared.
Do you have to be an expert? It used to be that as a beekeeper, you probably knew more about bees than people who weren’t beekeepers. That’s hopefully still the case, but people are more informed about honey bees than they ever were. Folks are getting back to the land and becoming more in tune with where their food comes from, and honey bees have been in the spotlight almost constantly in the last few years,but, as much as they’ve heard about bees, there’s nothing like a first hand account from someone who has been in the trenches. If you have hives you’ve experienced first hand what the others have only read about or seen on tv or youtube. Chances are, you have something worthy of sharing, even if it’s just your personal experiences as a first year beekeeper.
We know that being prepared is the key to everything, so how do we go about preparing? Here are three things I have found to be necessary.
Know your Audience
Know your Material
Use Props
Knowing your audience means talking with your contact person and asking some pertinent questions. Who will you be talking to, and how long will it last? Are they 3rd graders, senior citizens, library or museum patrons? Will you be talking to a garden club or other beekeepers? Are you going to speak for a half hour or an hour? Other venues such as a fair or Earth Day event may be a daylong affairs. Once you know who your audience is and your time frame, you can begin tailoring your presentation.

- part of a display at science and history museum
I got a grant to do a two day presentation on local beekeeping at the North Adams Museum of Natural Science and History. Each day included scheduled showings of a video, a demonstration hive, and talks on different topics about beekeeping. There was plenty of time for visitors to browse the various displays and ask questions. The display portion of the program was supposed to remain up for 1 week, but the museum asked to extend it an xtra week, and then indefinitely. It’s going on it’s fifth year now.
Here, I did a hands-on workshop and demo on installing package bees for beginners in my backyard. My preparation was having done it
plenty of times, and my props were the live bees and real hives. I knew my material well and after demonstrating, I let the participants do an actual installation so would feel confident when their bees came.
Know your material Some of the things we learned in school actually do come in handy in real life. Know what you plan to talk about and make an outline of what you are going to cover along with any necessary notes or reminders. Refine them into a coherent plan. The time honored method of index cards still works nicely, especially if you aren’t using power point.
What props will I need? Here again, walk through what you will be doing and have the appropriate props available which may include a hive, posters, pictures, live bees, a power point presentation, tools, charts, etc. A presentation to a kindergarten class might involve a story book and finger puppets. I’ve even brought a small extractor to some presentations so that people can see exactly how the frames of honey go in, and turn the crank to watch them spin. Everyone likes show and tell.
This picture is from a presentation at the local library geared toward people interested in learning how to get started with bees. I brought a mock up of a real hive, and most everything we beekeepers use including tools and protective clothing.
Here’s an example of how you might outline a talk about installing a package of bees. For props, you’ll use an empty package screened container with syrup feeder can and queen cage. Also have a hive tool, nail, spray bottle and pliers, depending on the method you personally use when installing a package.
1. Show bee package container and explain components.
a. screened cage (holds three pounds of bees)
b. sugar syrup can (feeds bees while in transit)
c. queen cage (protects queen while bees get used to her pheremones since she is not from the same hive)
2. spray sugar water on outside of screen
a. calms bees down
b. keeps them busy
3. Demonstrate opening package
a. pry off lid with hive tool
b. remove queen cage and inspect queen
c. carefully poke hole in candy and put queen in safe place
d. remove syrup can
4, install package
a. remove center frames
b. shake bees into hive
c. replace frames carefully (just let them settle)
d. put queen in hive (explain different options)
e. lean package container against entrance so the rest of the bees get out
5. Mention options for installing bees (like using empty deep below to set package in and let bees crawl out)
a. advantages are you don’t have to shake the bees, they aren’t exposed to elements if it’s cold or rainy, less drifting if more than one hive
b. disadvantage is you have to disrupt hive to remove empty package the next day
The outline above may seem long and too detailed, but actually walking through the process only takes about 2 minutes, and by going over it, you assure yourself that you aren’t going to leave anything out. That’s all part of knowing your material.
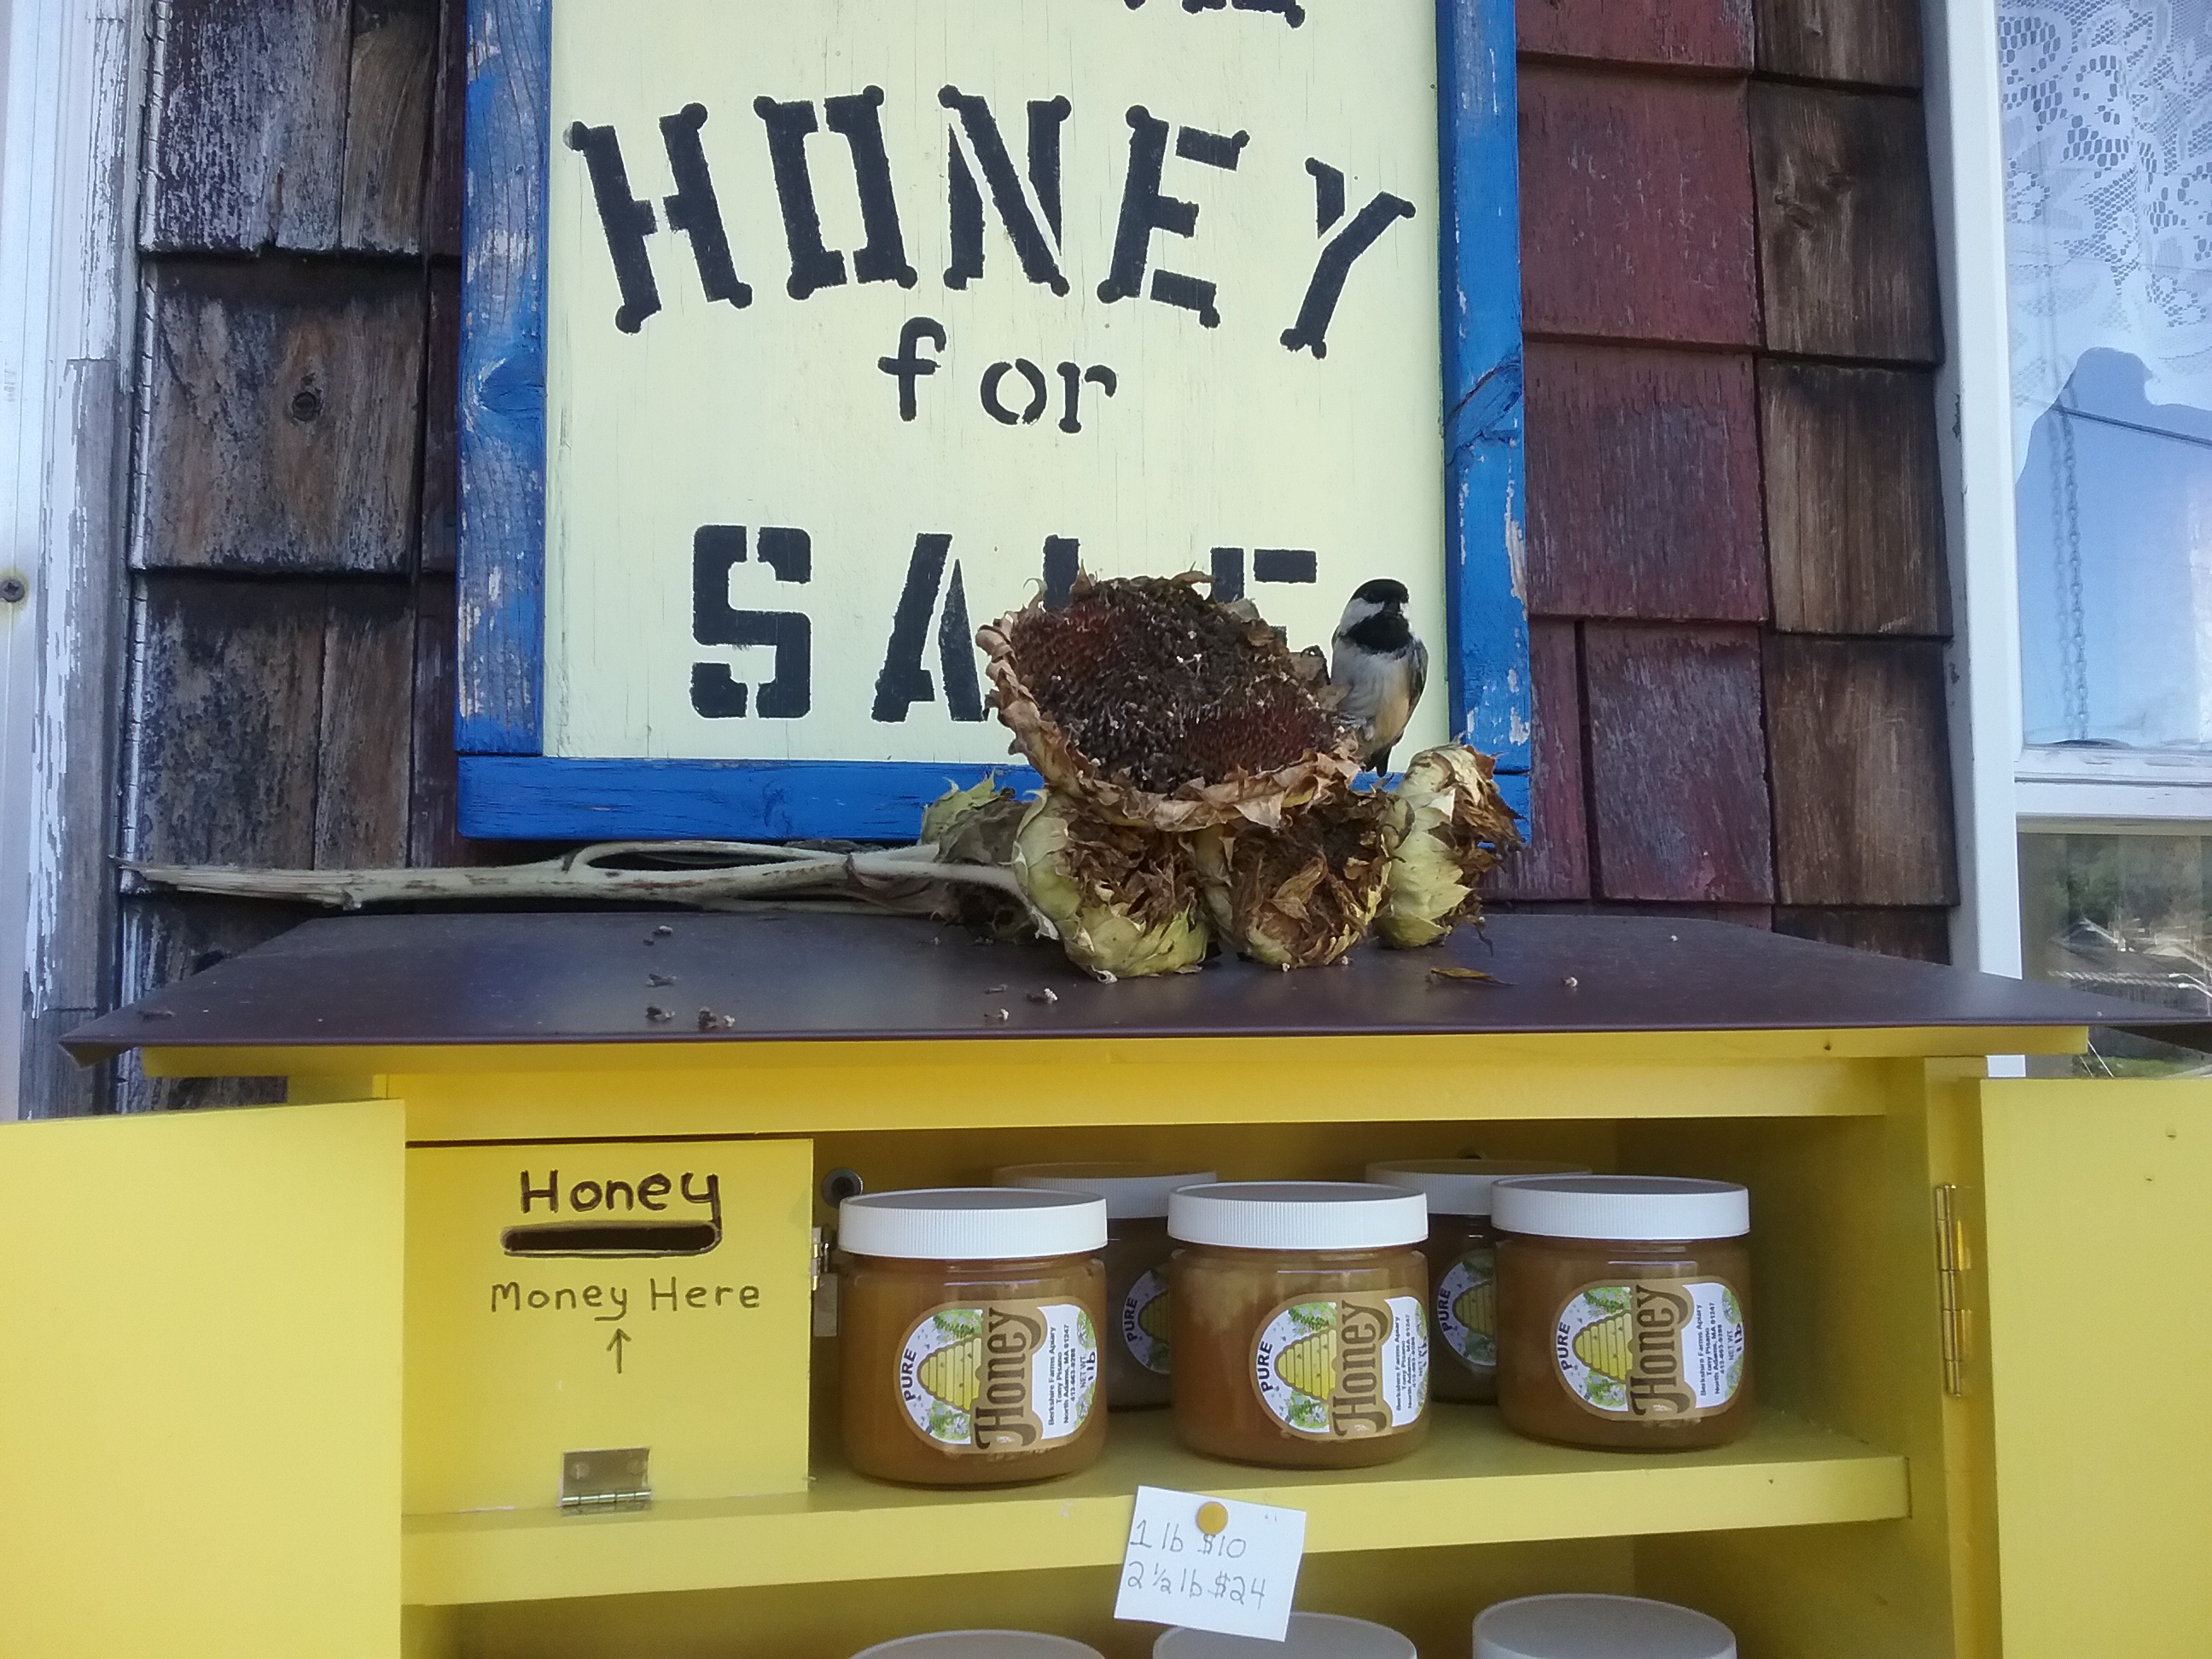
Give them something. This can be as simple as a sample tasting of your delicious honey. You can also set up a small table with recipe cards, fact sheets about good plants for honeybees, pamphlets from the National Honey Board, and catalogs from bee supply companies. Don’t forget to put our your own business cards so people know how to contact you, and information about your beeclub, including when and where you meet and how to join.
Every year, in May, I spend two days talking to a local elementary school first grade class about honeybees. These kids are really sharp. You see, the teacher in this class does a great job teaching the kids about bees.

the "bees" have chewed through their cappings and are emerging
She spends a few weeks working with them. They have story books and lessons. They build “cells” out of cut sections of paper towel rolls. They make larvae using cotton balls, and keep a journal as the days go by from the time the “queen” lays her eggs, predicting what they think will happen. When I go into class, it’s to reinforce what they’ve learned, show them the actual parts of a hive, let them wear a bee suit and hold the tools we use and ask questions.

- two first graders are all smiles when
- they get to try on a real bee veil
On the second day, I bring an observation hive. Now they can see real worker bees tending to larvae. Sometimes they get to see new bees emerging from their cells. They see the difference in size between Drones and Workers, and if they are lucky, they will see the queen laying eggs. By the end, they know more than most adults do about honeybees.

checking out the live bees
If you are going to bring an observation hive, it’s handy to also have a magnifying glass to give a really good close up view of what’s happing on the frames.
How far away is it?
Can I sell my stuff?
Is it going to be indoors or out, and if out, is shelter provided in the event of rain? Is this a paying gig, or am I doing it as a public service? Do they expect me to bring an observation/demonstration hive?
One More Option. Keep it Really Simple
Sometimes a group often just wants to meet a real beekeeper and just ask questions, and often when you are giving a planned presentation, the questions can get you sidetracked from your outline. You should decide ahead of time whether you will take questions as you go or have a Q&A period at the end. Also plan on some time to stick around after your presentation. There will always be enthusiastic beekeepers and potential beekeepers who will want to chat. Happy Beekeeping!

 Cutting the angle on each end piece. Mine ended up around 8 degrees. Be sure to do a mirror image so that both handholds end up on the outside.


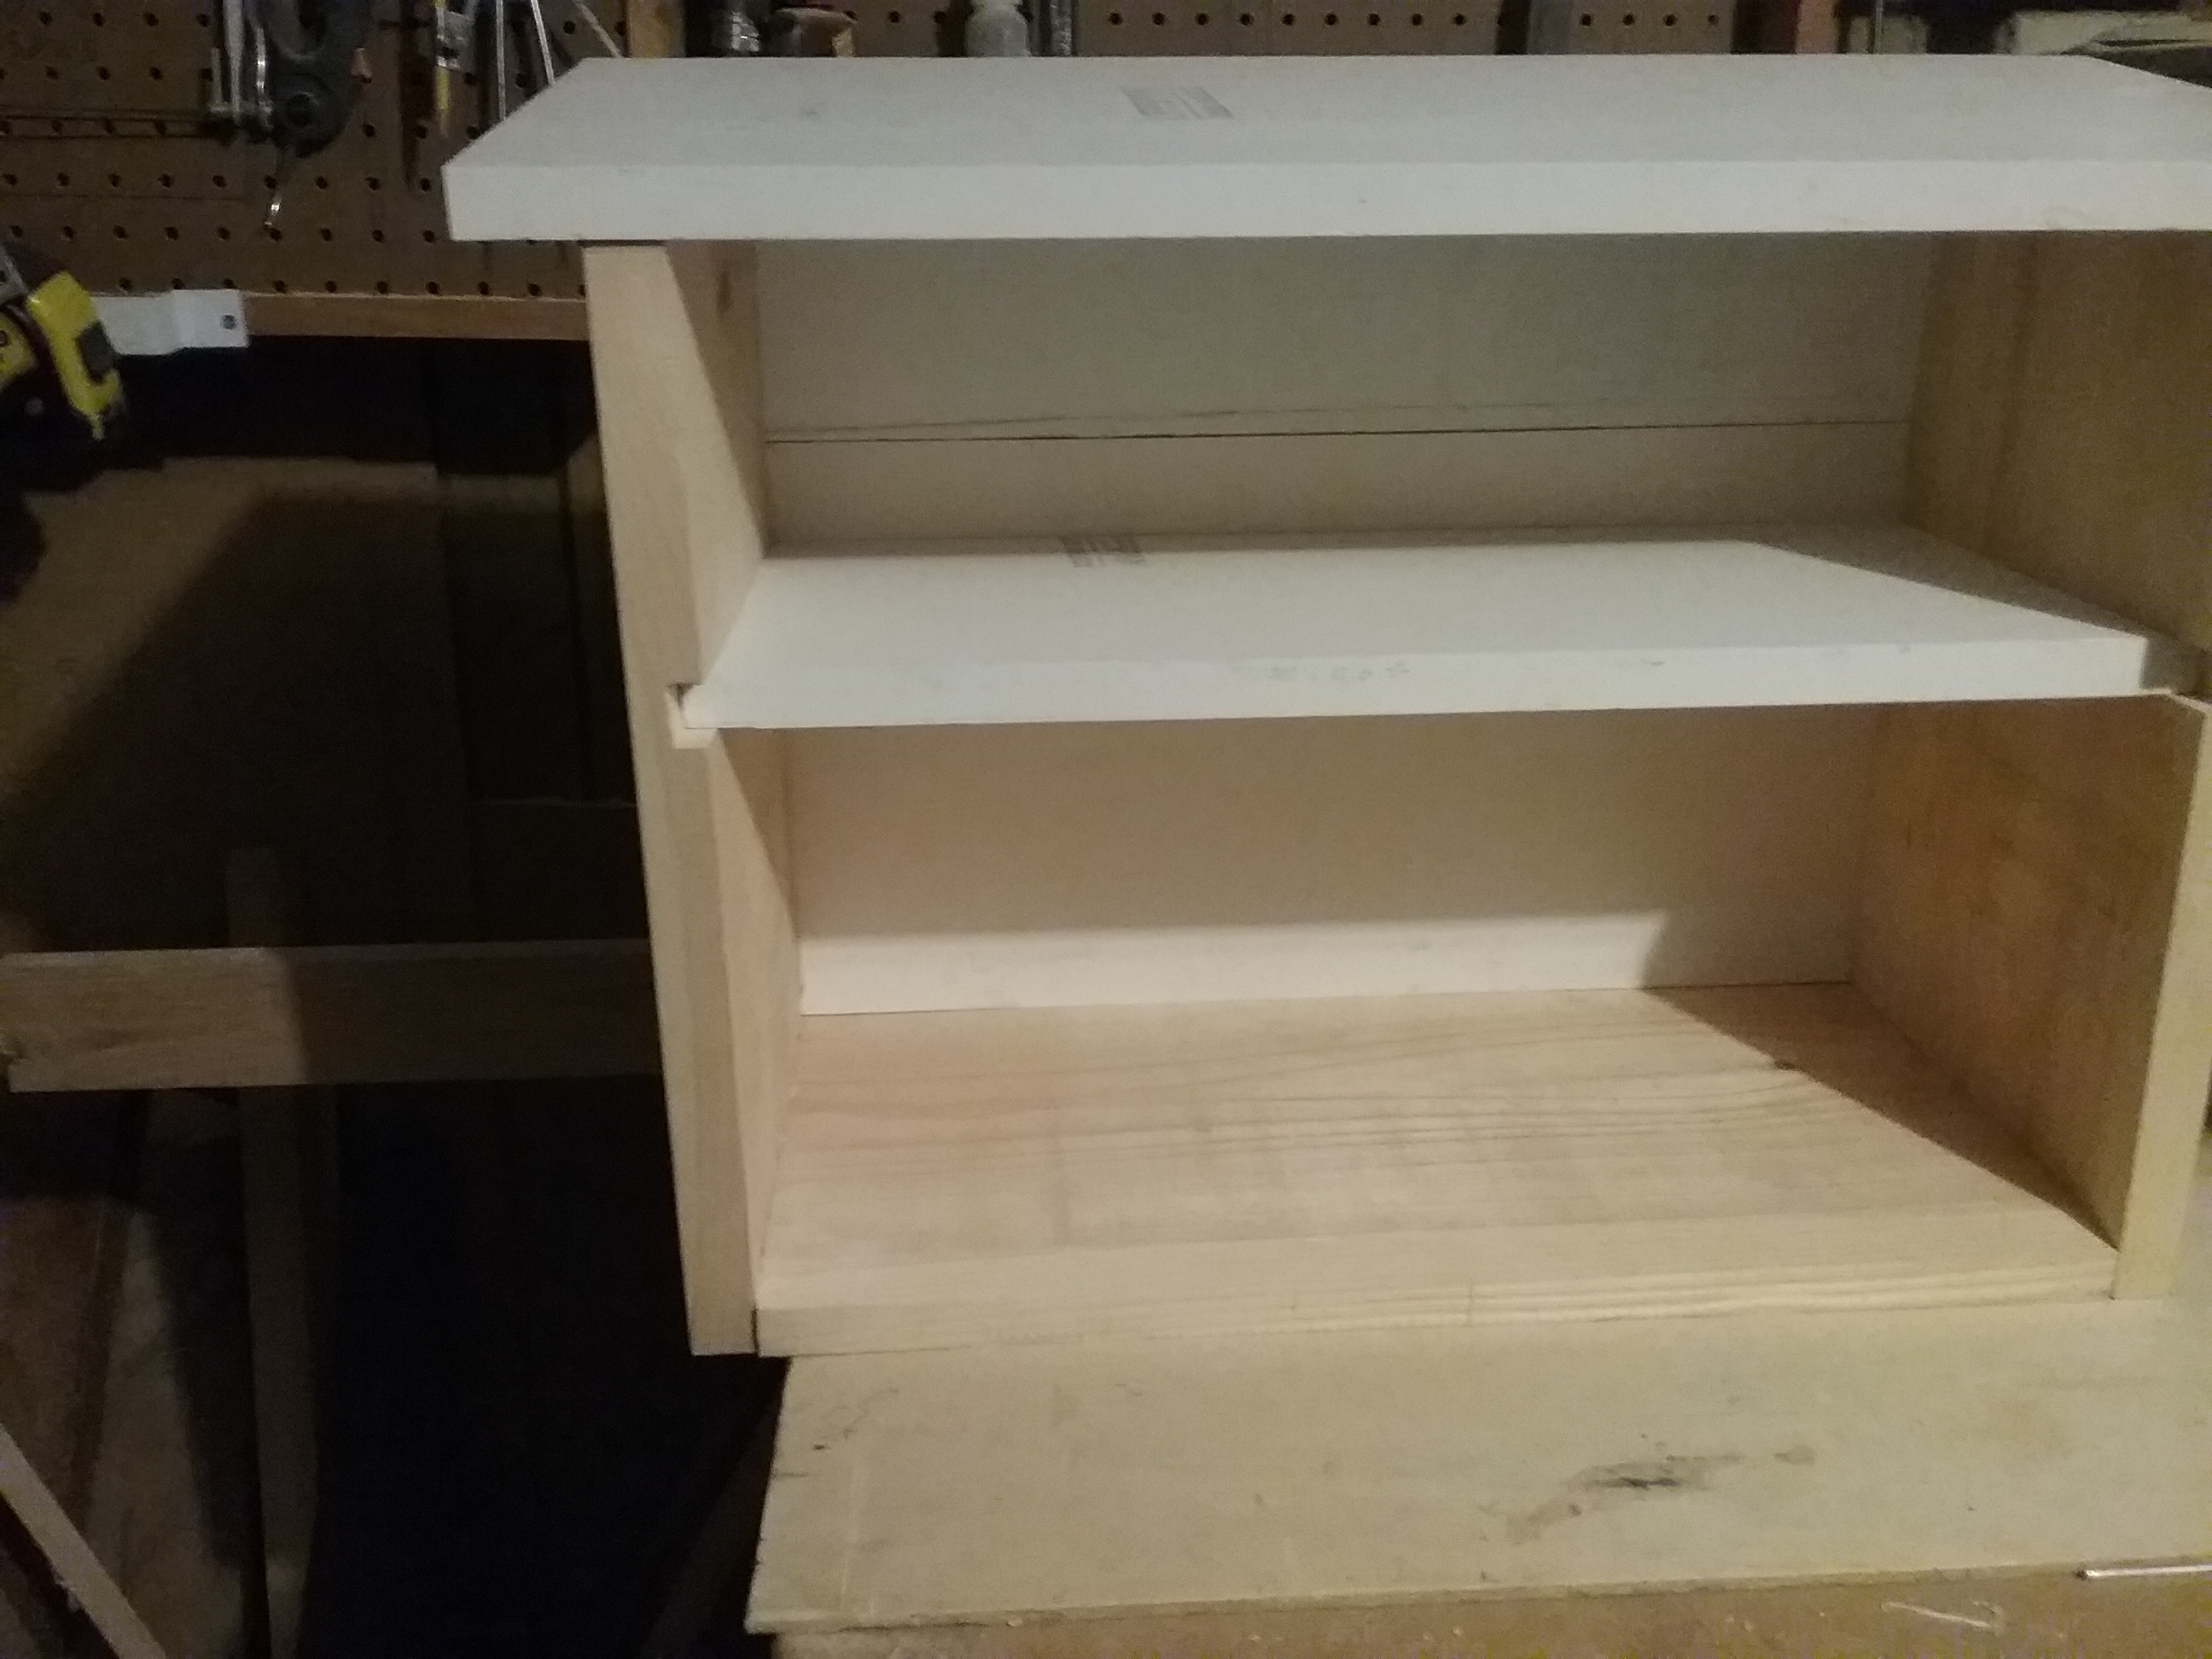


 notches for the back and sides.